Tile renovation is a fantastic way to revamp the look of your home, whether you’re updating your bathroom, kitchen, or any other tiled space. A successful tile renovation project can breathe new life into your living space and increase the value of your home. To ensure your project goes smoothly, we’ve outlined eight key steps that will guide you through the process.
Planning and Budgeting
When figuring out how to remodel tiling, the foundational first step is always thorough planning. Start by clearly defining the scope of your tile renovations. Which specific rooms are you upgrading, and what overarching vision are you trying to achieve? It helps to gather inspiring tiling renovation ideas to guide your overall design. Next, establish a comprehensive budget. Whether you are tackling small bathroom tilling projects or a massive full-scale bathroom renovation, you must account for the cost of the tiles, essential tools, professional labor, and unexpected materials. Setting a realistic financial boundary early on prevents mid-project stress and keeps you from overspending.
Choose the Right Tiles
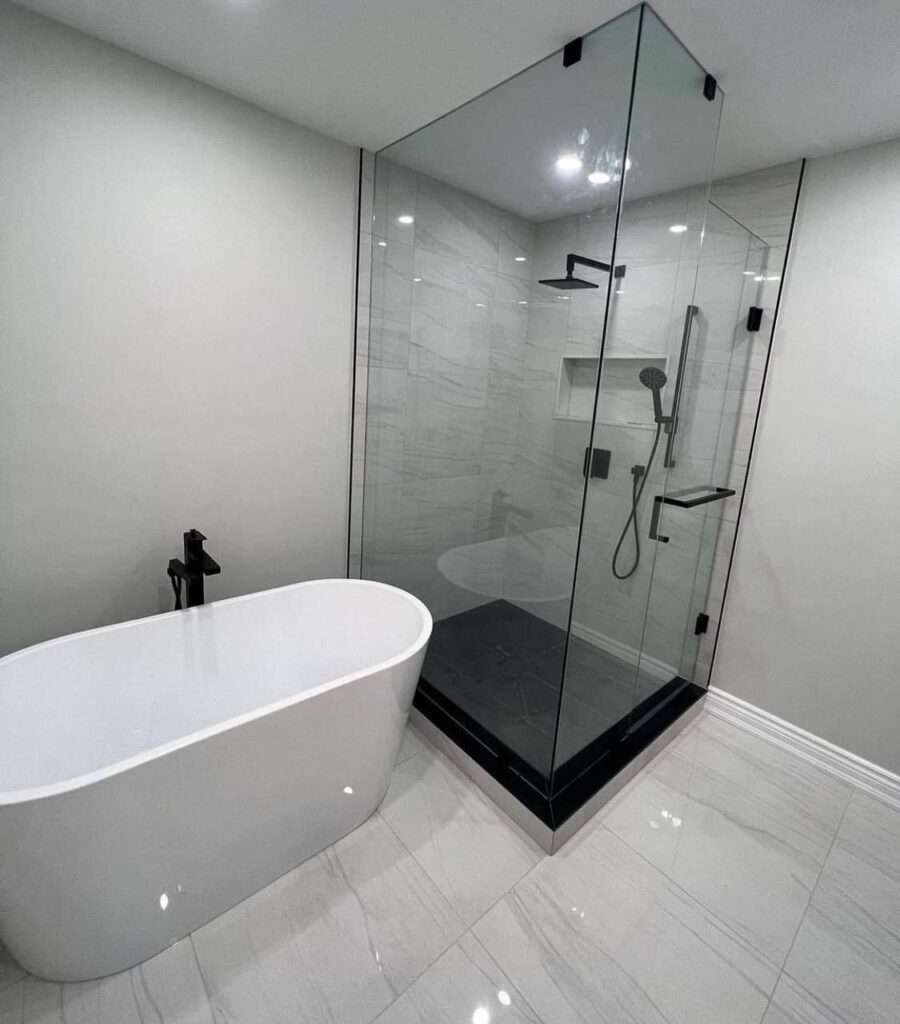
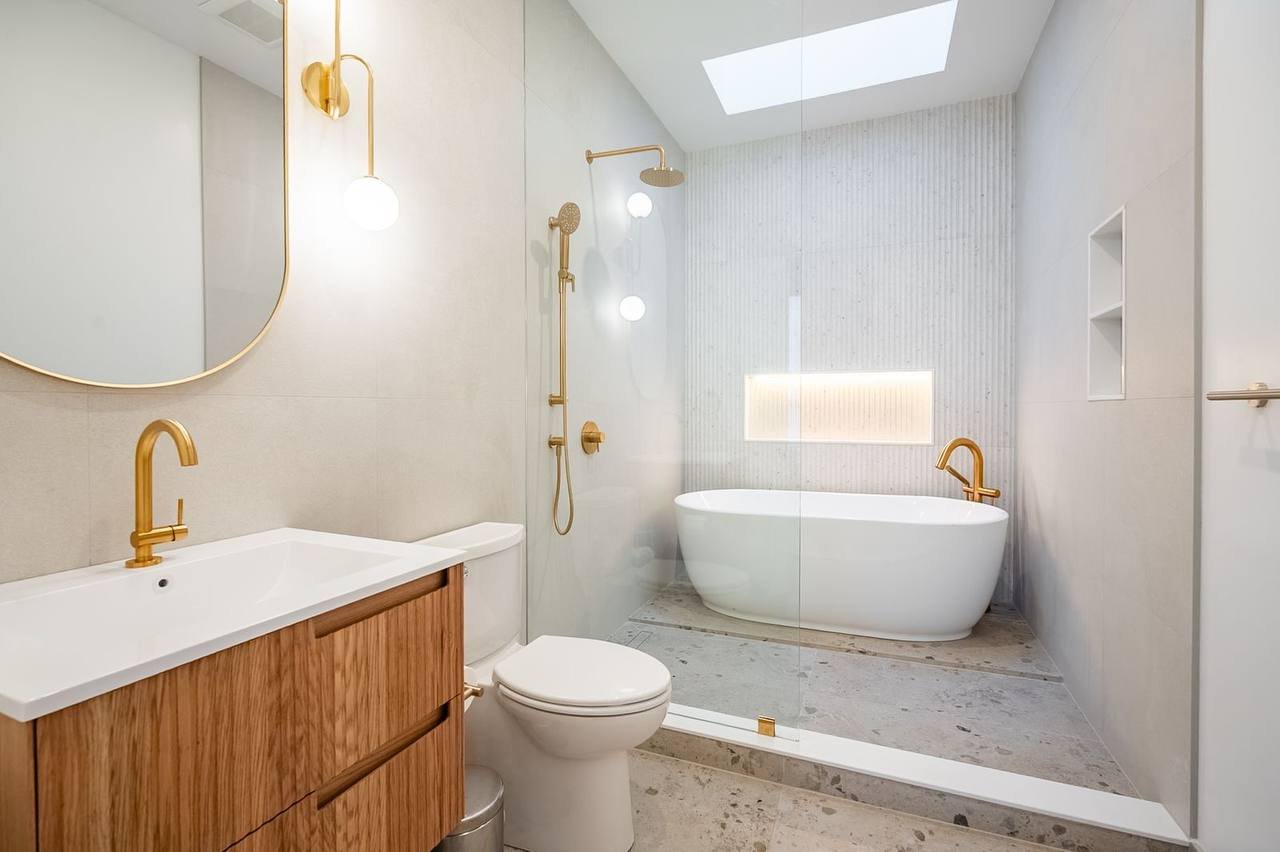
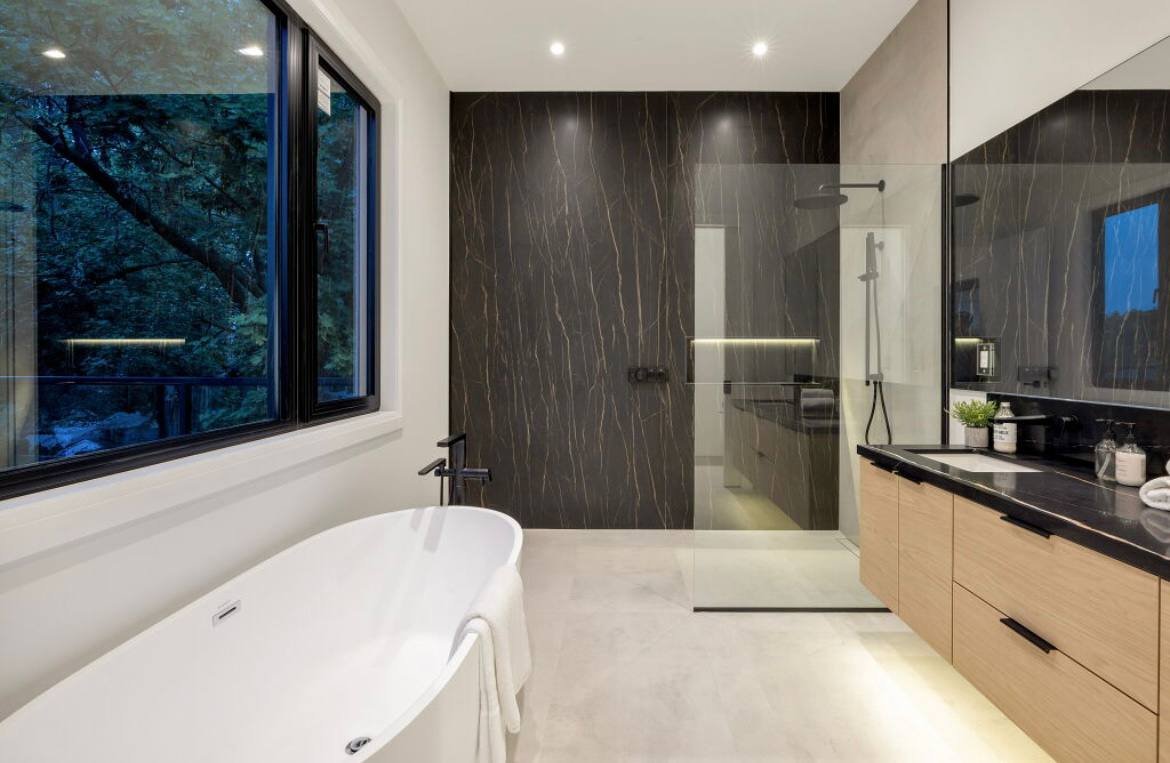
Selecting the perfect materials is make-or-break when you decide to replace bathroom tile or update your kitchen floors. Consider critical factors like tile size, color palette, and surface texture. You also need to think about the room’s daily traffic and moisture levels. If you want to change bathroom tiles, for instance, you will need highly durable, water-resistant, and easy-to-clean options. Don’t rush this decision. Aim for a balance of aesthetics and functionality so your space reflects that premium Dream House Tile look. The materials you pick will dictate the overall success and longevity of the space when you change tile in bathroom settings or high-traffic hallways.
Gather the Necessary Tools and Materials
Understanding how to retile bathroom floors or walls means knowing exactly what goes into the toolkit before the work even begins. Ensure you have all the necessary tools and raw materials on hand to avoid frustrating delays once the project is underway. Standard must-haves for replacing bathroom tile include high-quality tile adhesive, grout, precision spacers, a notched trowel, a reliable tile cutter, a spirit level, and a rubber float for grouting. Having everything staged and ready makes the physical work flow much more smoothly.
Surface Preparation
Properly preparing the canvas is vital before you lay a single piece of your new design. Ensure the existing floor or wall is meticulously cleaned, completely dry, and stripped of any loose debris or old adhesive. If you are working on walls, use a stud finder to locate and mark the wooden supports; this ensures your backer board and heavy tiles are anchored securely. Often, older spaces have settling issues, so if the subfloor or wall is uneven, you will need to pour and spread a high-quality leveling compound. Creating a perfectly smooth, even base is the ultimate secret to a flawless and professional finish

Tile Layout and Design
Mastering how to remodel tiling means you cannot skip the layout phase. Before you mix any adhesive, carefully plan the arrangement of your new pieces. This step is incredibly vital if you are exploring creative tiling renovation ideas that involve mixing different sizes, colors, or complex geometric patterns. Always dry-lay the tiles directly on the surface to visualize the final aesthetic and make any necessary adjustments. If you plan to replace bathroom tile, this dry-run helps you avoid awkward cuts around plumbing fixtures, preventing noticeable misalignments and stressful last-minute changes.
Installation
With the preparation and dry layout complete, the most active phase of your bathroom tilling projects begins. Start installing from the center of the room or the most visible wall, using your predetermined layout as a strict guide. Apply an even layer of high-quality adhesive with a notched trowel, then press each piece firmly into place. If you want to change bathroom tiles effectively, always use leveling spacers to maintain consistent, uniform gaps. Check the surface with a spirit level frequently; making tiny adjustments during installation is much easier than fixing dried mistakes when replacing bathroom tile.
Grouting
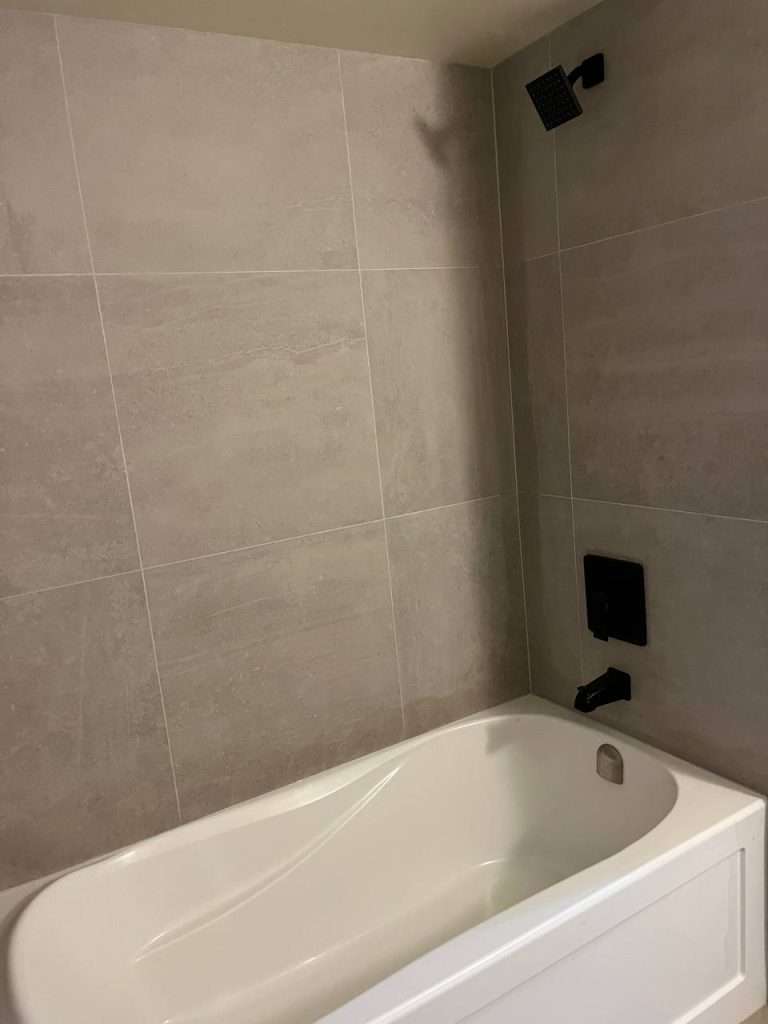
Once the adhesive has fully cured and the pieces are locked in, it is time to move on to grouting. Anyone learning how to retile bathroom spaces will find that the color and quality of the grout can completely transform the room’s vibe. Mix the grout strictly according to the manufacturer’s instructions and use a rubber float to force the mixture deep into the joints at a 45-degree angle. After filling the gaps, gently wipe away the excess from the surface with a damp sponge. Allow the grout to cure properly, then buff the area with a dry cloth to remove the remaining powdery haze, an essential step to wrap up the heavy lifting of a bathroom renovation.
Finishing Touches
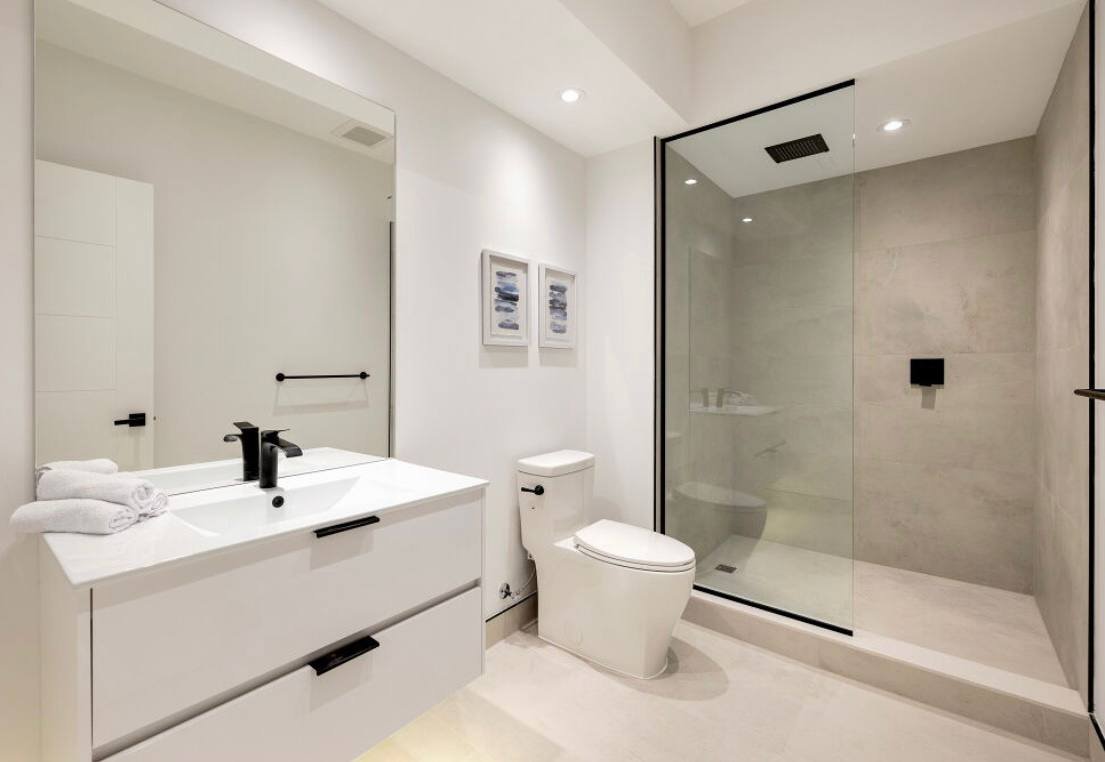
The final phase of successful tile renovations involves meticulous finishing touches that protect and elevate your hard work. Apply a high-grade, mold-resistant caulk along all edges, corners, and transition seams to ensure a completely watertight seal—an absolute must when you change tile in bathroom environments. Install any specialized trim, metal edging, or baseboards to frame the space beautifully and hide any raw cuts. Once the caulk cures, step back and admire the pristine, Dream House Tile aesthetic you have successfully achieved.
Choosing the Right Material: Tile Comparison Guide
When deciding on materials for your project, it helps to weigh the pros and cons of the most popular options. Here is a quick comparison to guide your selection:
| Tile Material | Durability & Water Resistance | Maintenance | Best For |
| Ceramic | Moderate; absorbs more water than porcelain | Easy to clean, but prone to chipping under heavy impact | Walls, backsplashes, and low-traffic bathroom floors |
| Porcelain | High; extremely dense and highly water-resistant | Very low maintenance; highly resistant to scratches and stains | High-traffic floors, shower floors, and wet environments |
| Natural Stone | Very High; durable but naturally porous | Requires regular sealing to prevent staining and water damage | Luxury finishes, feature walls, and spa-like aesthetics |
| Glass | High water resistance; can crack under heavy pressure | Wipes clean easily but shows streaks and water spots | Decorative borders, shower niches, and backsplashes |

Conclusion
Understanding how to remodel tiling is more than just a standard home maintenance task; it is a highly rewarding investment that fundamentally transforms the aesthetic, comfort, and market value of your property. Whether your ultimate goal is to completely replace bathroom tile for a sleek, modernized look, or you are simply exploring fresh tiling renovation ideas to breathe new life into a tired space, following these eight key steps will guide you safely from initial budgeting to the final waterproof seal. The prospect of replacing bathroom tile or managing multiple bathroom tilling projects can feel overwhelming at first, but breaking the process down into a structured, logical approach removes the guesswork and minimizes stress.
When you finally decide to change bathroom tiles, remember that meticulous preparation and patience are just as important as the materials you purchase. Rushing through the dry layout or skipping crucial surface leveling can undermine an otherwise perfect bathroom renovation. By taking the time to learn exactly how to retile bathroom floors and walls properly, paying strict attention to the smallest details, and executing each step with care, you guarantee a professional-grade finish. Every time you change tile in bathroom environments or high-traffic areas, you are actively upgrading your daily living experience. Embrace the entire journey of your tile renovations, and enjoy the profound satisfaction of crafting a beautiful, resilient space that captures that perfect Dream House Tile elegance you and your family will admire for years to come