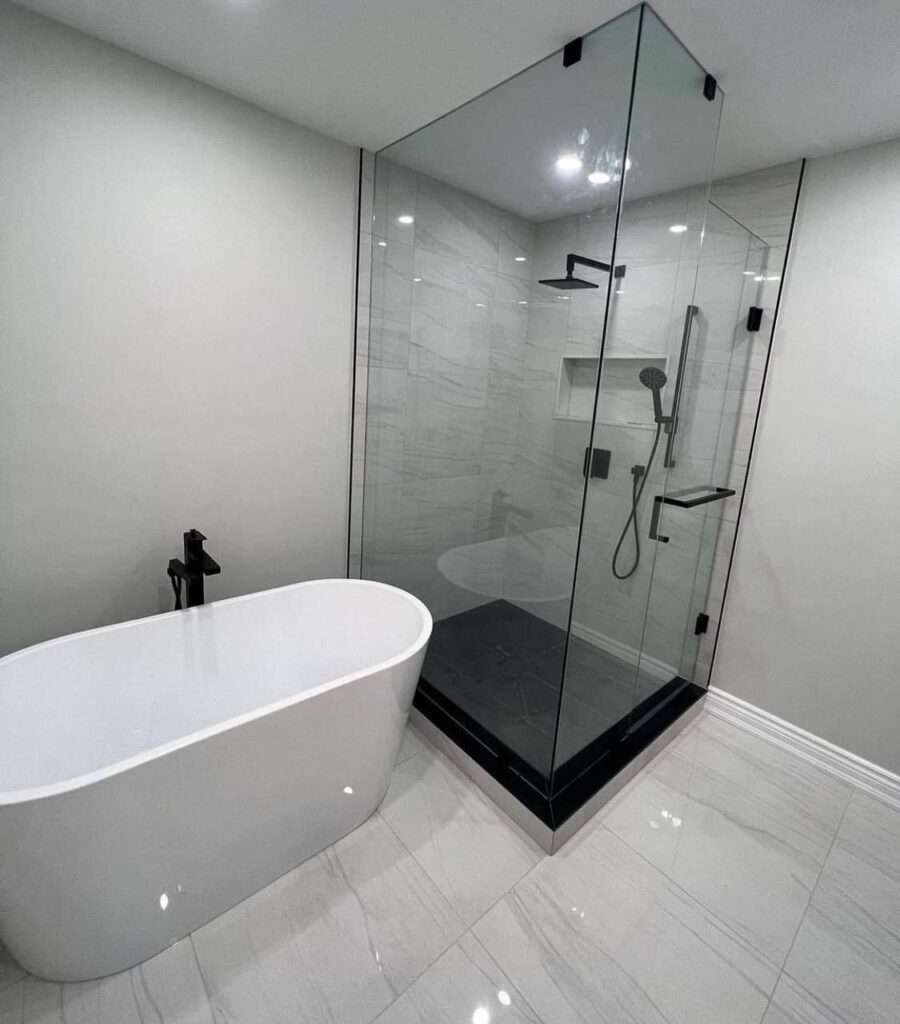
Renovating your master bathroom is an exciting project that can significantly enhance the value, functionality, and aesthetic appeal of your home. One of the most impactful elements in any bathroom renovation is the tile work. Whether you’re aiming for a spa-like retreat or a sleek modern look, the tiles you choose and the installation process will play a crucial role in achieving your vision. This article will guide you through what to expect during a master bathroom tile installation, from planning and preparation to the final finishing touches.
1. Planning and Design
The first step in any successful tile installation is careful planning and design. This stage involves selecting the right tiles, determining the layout, and planning the overall aesthetic of your master bathroom.
Tile Selection
When selecting tiles, consider both aesthetics and functionality. Here are some popular options:
- Ceramic Tiles: Affordable, versatile, and available in a wide range of colors and designs.
- Porcelain Tiles: More durable and water-resistant than ceramic, ideal for high-moisture areas.
- Natural Stone Tiles: Offer a luxurious and unique look with materials like marble, granite, and travertine.
- Glass Tiles: Provide a sleek, modern look and are often used for accents or backsplash.
- Mosaic Tiles: Small tiles that can be used to create intricate designs and patterns.
Design and Layout
The design and layout of your tiles can significantly impact the look and feel of your bathroom. Consider the following:
- Color Scheme: Choose a color palette that complements the overall design of your home.
- Tile Size and Shape: Large tiles can make a space feel larger, while smaller tiles can add texture and detail.
- Pattern and Layout: Popular patterns include herringbone, brick, basketweave, and hexagonal. The layout can create visual interest and focal points in your bathroom.
2. Preparation
Proper preparation is crucial for a smooth and successful tile installation. This stage involves prepping the surfaces, gathering materials, and planning the installation process.
Surface Preparation
- Remove Old Tiles: If you’re renovating an existing bathroom, the old tiles need to be removed carefully.
- Clean and Level Surfaces: Ensure the surfaces are clean, dry, and level. This may involve patching holes, sanding rough areas, and applying a primer.
- Waterproofing: Apply a waterproof membrane to areas prone to moisture, such as the shower and tub surrounds, to prevent water damage.
Gathering Materials and Tools
Ensure you have all the necessary materials and tools before starting the installation:
- Tiles: Based on your design and layout.
- Adhesive: Choose a high-quality, water-resistant adhesive suitable for your tile type.
- Grout: Select a grout color that complements your tiles. Epoxy grout is highly durable and water-resistant.
- Tools: Tile cutter, trowel, spacers, level, sponge, and grout float.
Planning the Installation
- Measure and Mark: Measure the space and mark guidelines to ensure the tiles are installed evenly.
- Dry Layout: Lay out the tiles without adhesive to visualize the final look and make any necessary adjustments.
3. Installation Process
The actual installation process involves several steps, each crucial for achieving a professional finish.
Applying Adhesive
- Mix the Adhesive: Follow the manufacturer’s instructions to mix the adhesive to the right consistency.
- Spread the Adhesive: Use a notched trowel to spread the adhesive evenly on the surface, working in small sections to prevent it from drying out.
- Place the Tiles: Press the tiles firmly into the adhesive, using spacers to ensure even gaps between them. Use a level to check that the tiles are straight and even.
Cutting Tiles
- Measure and Mark: Measure the tiles that need to be cut to fit around edges, corners, and fixtures.
- Cut the Tiles: Use a tile cutter or wet saw to make precise cuts. Wear safety goggles and gloves for protection.
Grouting the Tiles
- Mix the Grout: Follow the manufacturer’s instructions to mix the grout to a smooth consistency.
- Apply the Grout: Use a grout float to spread the grout over the tiles, pressing it into the gaps between them.
- Clean Excess Grout: After the grout has set for a few minutes, use a damp sponge to wipe away excess grout from the tile surfaces.
Sealing the Grout
- Apply Sealer: Once the grout is fully cured, apply a grout sealer to protect it from moisture and stains. Follow the manufacturer’s instructions for application and drying times.
4. Finishing Touches
After the tiles are installed and the grout is sealed, there are a few final steps to complete your master bathroom tile installation.
Caulking
- Apply Caulk: Use a waterproof caulk around the edges where the tiles meet the tub, shower, or walls to prevent water infiltration.
- Smooth the Caulk: Use a caulk smoothing tool or your finger to smooth the caulk for a clean finish.
Cleaning
- Clean the Tiles: Give the tiles a thorough cleaning to remove any remaining adhesive or grout haze. Use a non-abrasive cleaner suitable for your tile type.
Inspecting
- Inspect the Work: Carefully inspect the tile installation to ensure all tiles are secure, the grout lines are even, and there are no gaps or cracks. Make any necessary touch-ups.
5. Maintenance Tips
Proper maintenance will ensure your newly tiled master bathroom remains beautiful and functional for years to come.
- Regular Cleaning: Clean the tiles regularly with a mild cleaner to prevent buildup of soap scum and mildew.
- Seal the Grout: Reapply grout sealer every 6-12 months to maintain its water resistance and prevent staining.
- Repair Damage: Address any cracks or chips in the tiles or grout promptly to prevent further damage and water infiltration.
Conclusion
Master bathroom tile installation is a detailed process that requires careful planning, precise execution, and proper maintenance. By understanding what to expect and following best practices, you can achieve a stunning, durable, and functional bathroom that enhances your home’s value and your daily living experience. Whether you choose to hire a professional or embark on a DIY project, the end result will be a beautifully tiled master bathroom that provides a luxurious and comfortable retreat in your home.