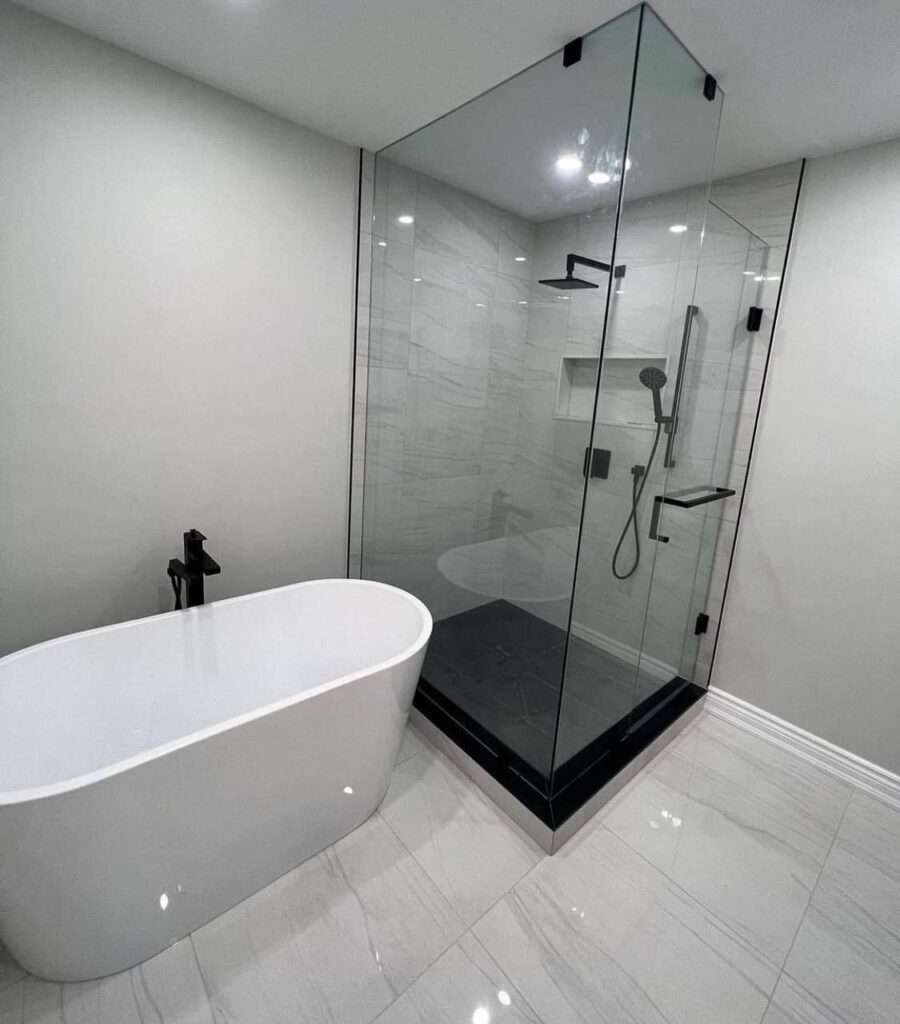
Bathroom tile installation can significantly enhance the aesthetics and functionality of your space. However, it is a meticulous process that requires attention to detail and proper technique. Avoiding common mistakes can save you time, money, and frustration. Here are the top mistakes to avoid in bathroom tile installation to ensure a beautiful and durable finish.
1. Insufficient Planning and Preparation
Lack of Proper Measurement
Accurate measurement is critical in tile installation. Miscalculations can lead to an insufficient quantity of tiles, improper alignment, and uneven surfaces. Always double-check your measurements and account for extra tiles to cover mistakes and cuts.
Tip: Measure the area twice and buy 10-15% more tiles than needed to cover mistakes, cuts, and future repairs.
Inadequate Surface Preparation
A clean, smooth, and level surface is essential for successful tile installation. Installing tiles over an uneven or dirty surface can result in poor adhesion and a substandard finish.
Tip: Remove any old tiles, adhesive, and debris. Sand down rough areas and fill any gaps or holes to create a smooth, even surface.
2. Ignoring Waterproofing
Waterproofing is crucial in bathroom tile installation to prevent water damage and mold growth. Skipping this step can lead to costly repairs down the line.
Tip: Apply a waterproof membrane to areas prone to moisture, such as shower walls, floors, and tub surrounds. Use high-quality waterproofing materials and follow the manufacturer’s instructions carefully.
3. Incorrect Adhesive Application
Using the Wrong Adhesive
Not all adhesives are created equal. Using the wrong type of adhesive can result in poor tile adhesion and eventual detachment.
Tip: Choose an adhesive that is specifically designed for the type of tile you are using and for bathroom environments. Consult with a professional or a knowledgeable retailer if you’re unsure.
Improper Adhesive Coverage
Insufficient adhesive coverage can lead to hollow spots under the tiles, causing them to crack or lift over time.
Tip: Use a notched trowel to apply the adhesive evenly, ensuring full coverage on the back of each tile. Follow the adhesive manufacturer’s recommendations for trowel size and application technique.
4. Poor Tile Cutting and Placement
Inaccurate Tile Cutting
Inaccurate cuts can lead to uneven edges and poor alignment, which detract from the overall appearance of the bathroom.
Tip: Use a high-quality tile cutter or wet saw to make precise cuts. Measure and mark the tiles carefully before cutting to ensure accuracy.
Skipping the Layout Dry Run
Not laying out the tiles before installation can result in a poorly planned design and uneven placement.
Tip: Perform a dry layout by placing the tiles on the floor or wall without adhesive. This allows you to visualize the final design, make adjustments, and ensure proper alignment before permanent installation.
5. Ignoring Expansion Joints
Tiles expand and contract with temperature changes. Ignoring expansion joints can cause tiles to crack or pop loose.
Tip: Include expansion joints around the perimeter of the tiled area and at intervals within large tiled surfaces. Use flexible caulk in these joints instead of grout to accommodate movement.
6. Improper Grouting
Using the Wrong Grout
The wrong type of grout can lead to discoloration, cracking, and poor water resistance.
Tip: Choose a grout that is suitable for bathroom use and compatible with your tile type. Epoxy grout is a durable and water-resistant option for wet areas.
Inconsistent Grout Lines
Uneven grout lines can make the tile installation look sloppy and unprofessional.
Tip: Use tile spacers to ensure consistent grout lines. Remove the spacers once the adhesive has set and before applying grout.
Not Sealing the Grout
Unsealed grout can absorb water and stains, leading to discoloration and mold growth.
Tip: Apply a grout sealer once the grout has cured to protect it from moisture and stains. Reapply the sealer periodically to maintain its effectiveness.
7. Skipping Professional Help When Needed
While DIY tile installation can be rewarding, some aspects may require professional expertise to ensure a high-quality finish.
Tip: Don’t hesitate to hire a professional for complex installations, such as intricate patterns, large tiles, or challenging areas like curved surfaces. Professional installers have the experience and tools to handle these tasks efficiently.
Conclusion
Avoiding these common mistakes in bathroom tile installation can save you time, money, and headaches while ensuring a beautiful and long-lasting result. Proper planning, surface preparation, adhesive application, tile cutting, grouting, and considering professional help when needed are all critical steps in achieving a flawless tile installation. With careful attention to detail and the right techniques, you can create a stunning bathroom that adds value and comfort to your home.